This document will show you the process to migrate your mail from a Hosted Server, or our Zimbra e-mail system to your Office365 Accounts.
Log in to your Office365 Account as the Administrator.
Create all the e-mail accounts that need to be migrated: https://admin.cloud.microsoft/?#/users
Make sure you have the e-mail credentials for the IMAP Accounts on the Source Server. These will get saved in a CSV File, such as:
EmailAddress,UserName,Password
"user1@example.com","user1@example.com","IMAP_Password_1"
"user2@example.com","user2@example.com","IMAP_Password_2"
The first column is the Office365 / Exchange Mailbox name. The second column is the IMAP Username on the Source Server.
For old CentOS servers, these may be the old style "user_exampcom" usernames.
Start the Migration wizard here: https://admin.exchange.microsoft.com/#/migrationbatch
Select "Add Migration Batch".
Give the Migration Batch a name. "Import-from-Zimbra", or "Import-from-srv9999" for example.
Under "Select the mailbox migration path" choose "Migration to Exchange Online"
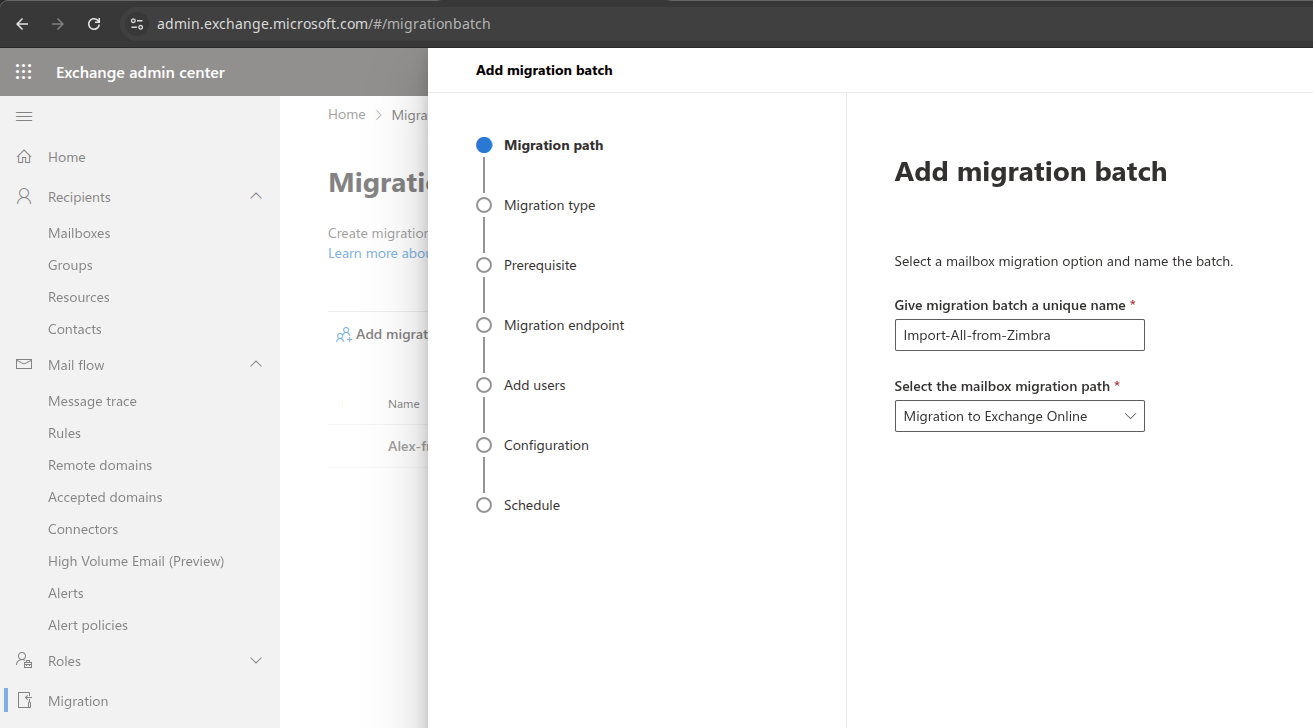
Next
Under "Select the migration type", select "IMAP Migration"
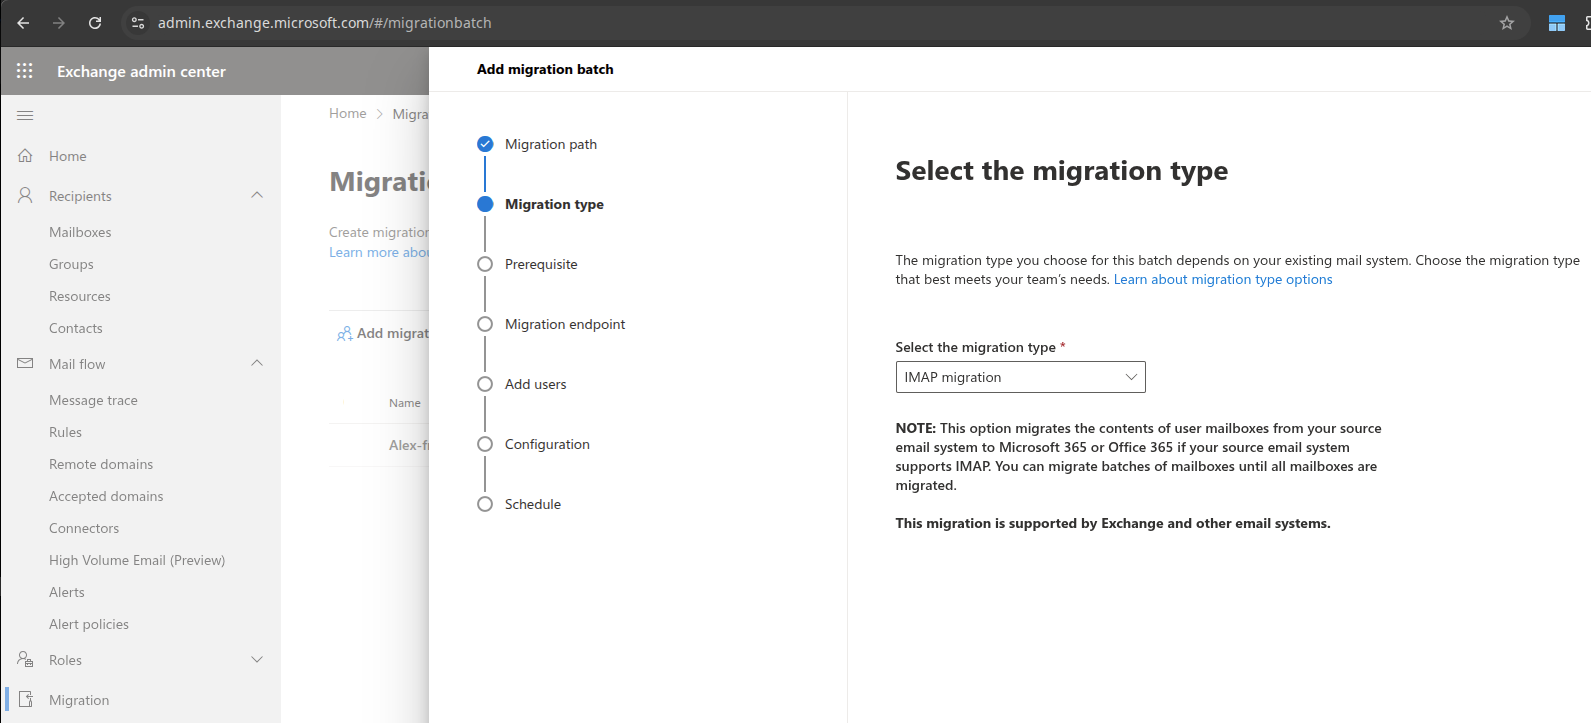
Next
Click Next on the Prerequisites page.
On the Migration Endpoint page, select "Create a new migration endpoint"
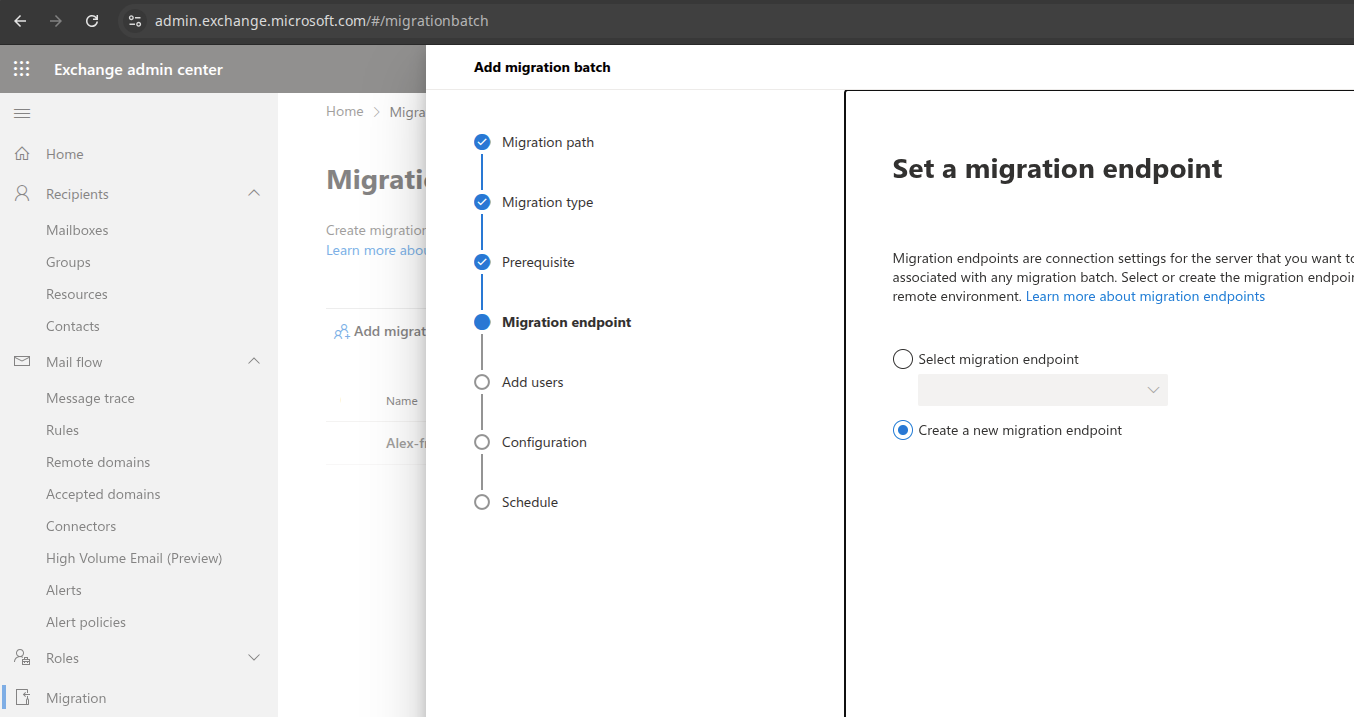
Next
On the Endpoint account settings page, enter a Migration endpoint name. This is Not the mail server hostname; just a reference name.
Use something like "zimbra.mojo", or "srv9999.mojo" for example.
You can adjust the concurrent migrations and concurrent sync settings if you feel it's necessary.
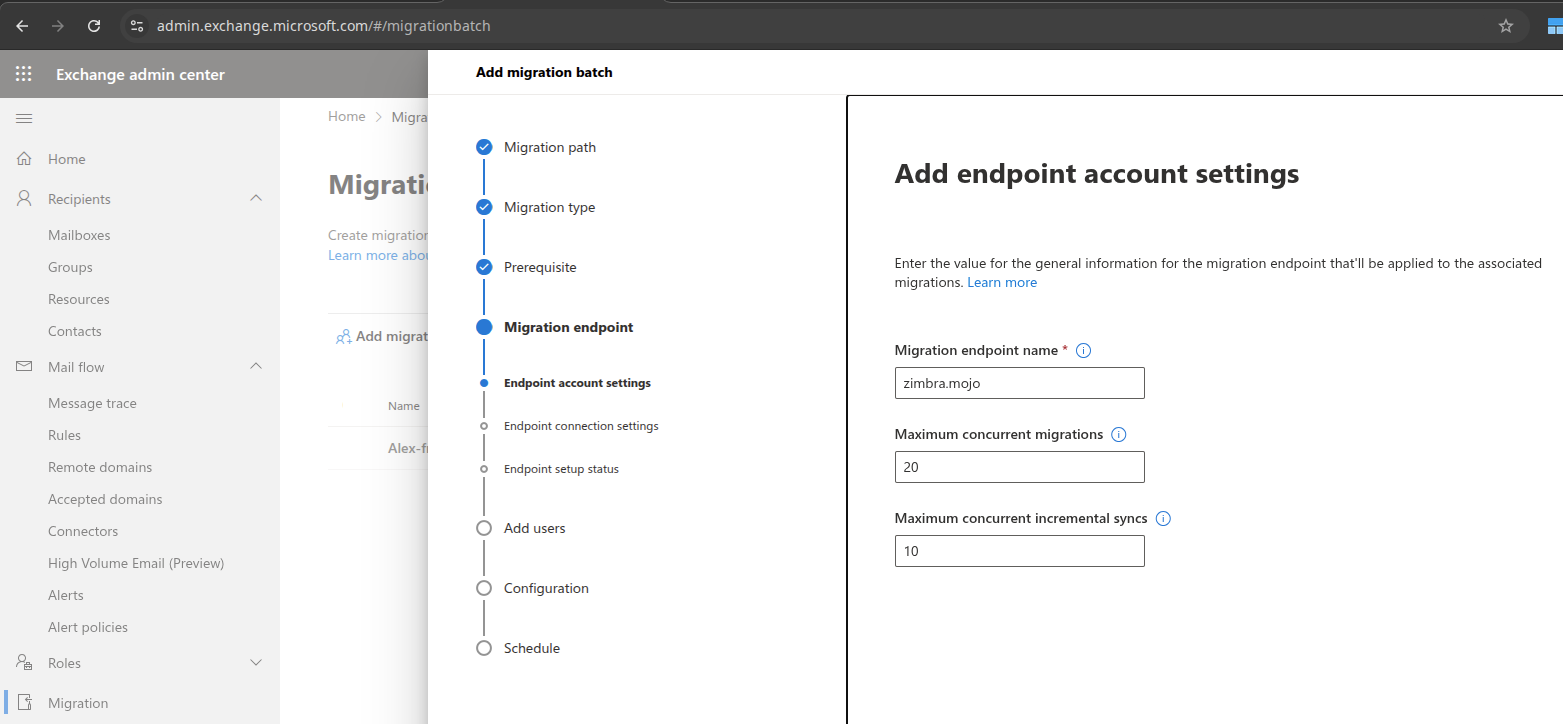
Next
On the Endpoint connection settings page, enter the IMAP Server name, and the Encryption details.
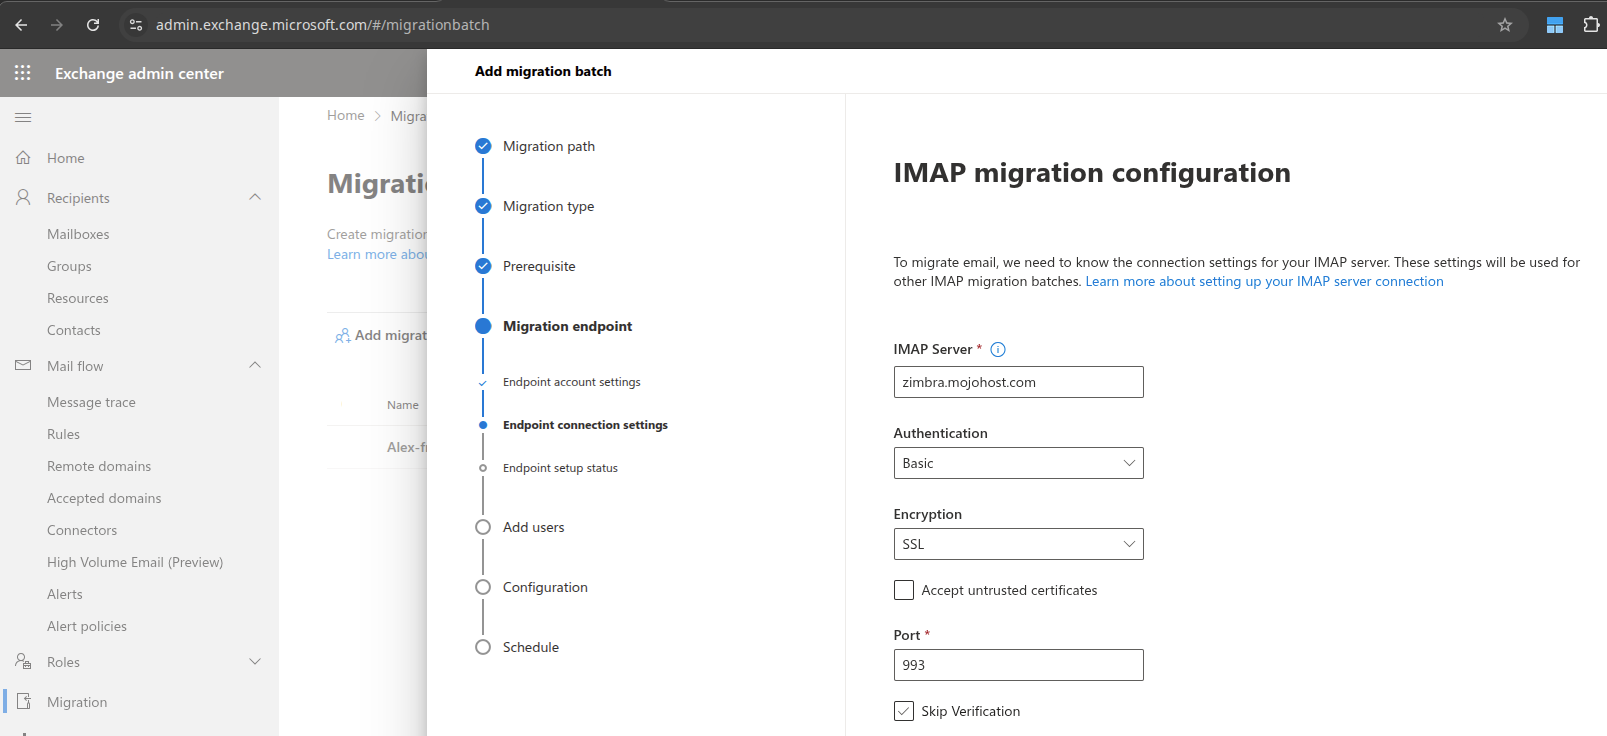
Next
You should get a green bar that says "New endpoint [name] created"

Next
Now you will import the CSV File you created previously.
Select "Import CSV File"
You should see a message "X successful users"
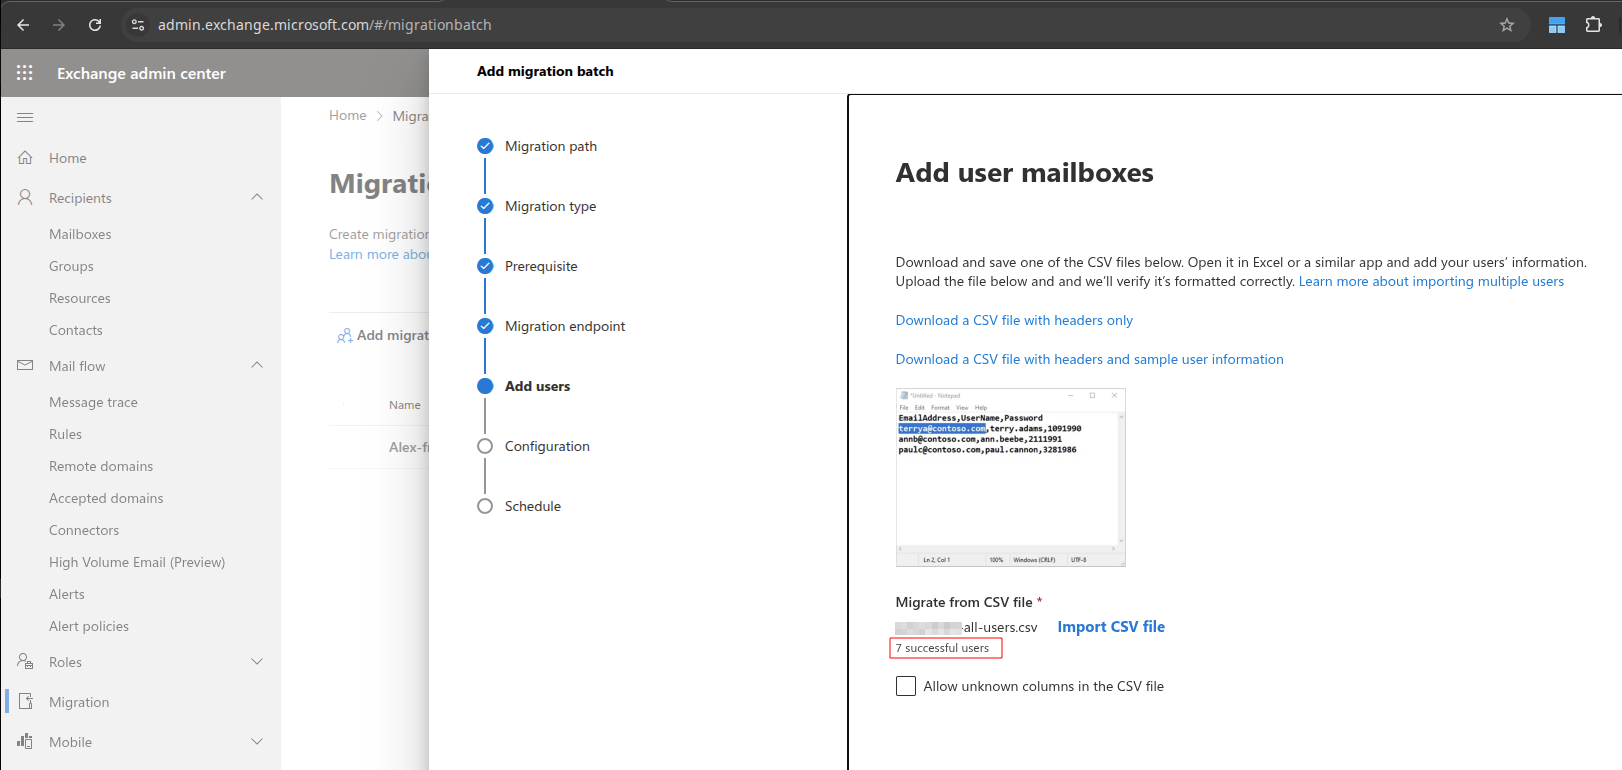
Next
The next screen has Migration Filtering Options. I typically leave these alone, as we want to migrate All mail in most cases.
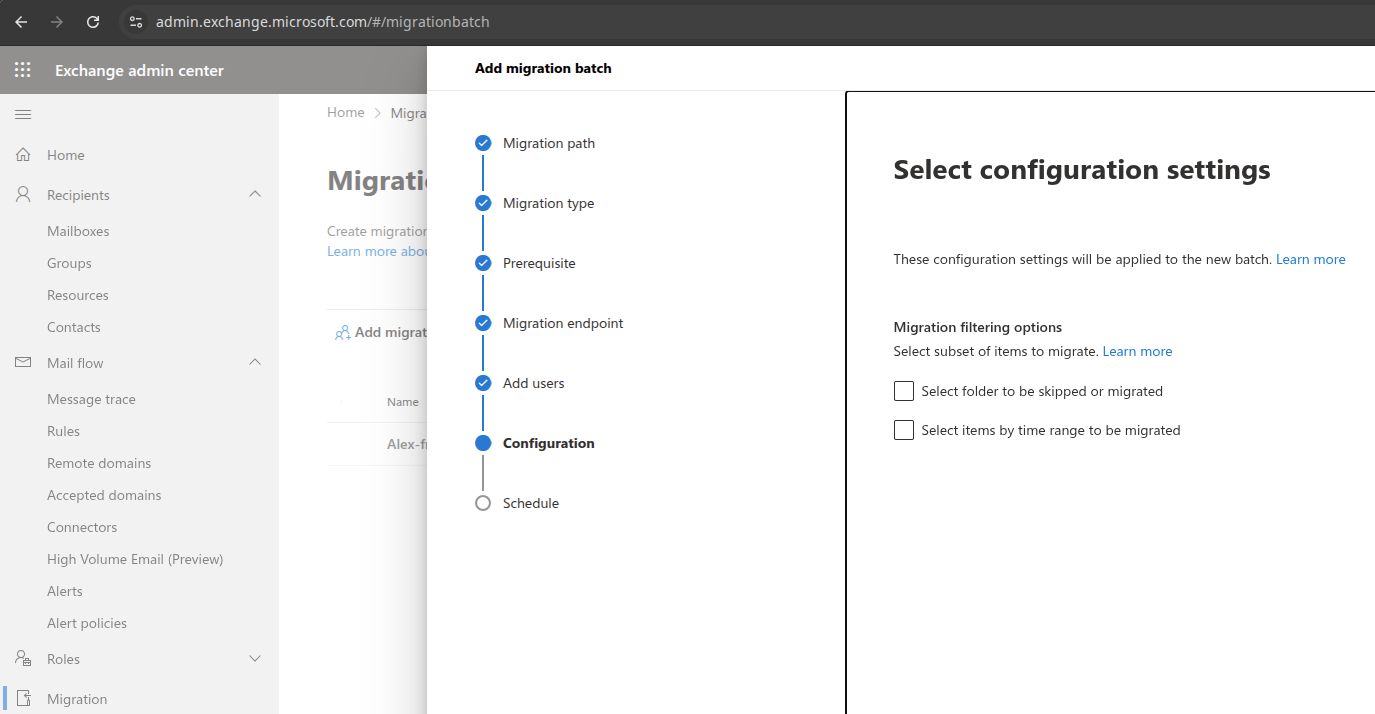
Next
On the Schedule screen, you can select who will receive a report when the import process is finished. This will default to the account admin.
You also have some options to start the migration at a set time. I leave this set to "Automatically start..."
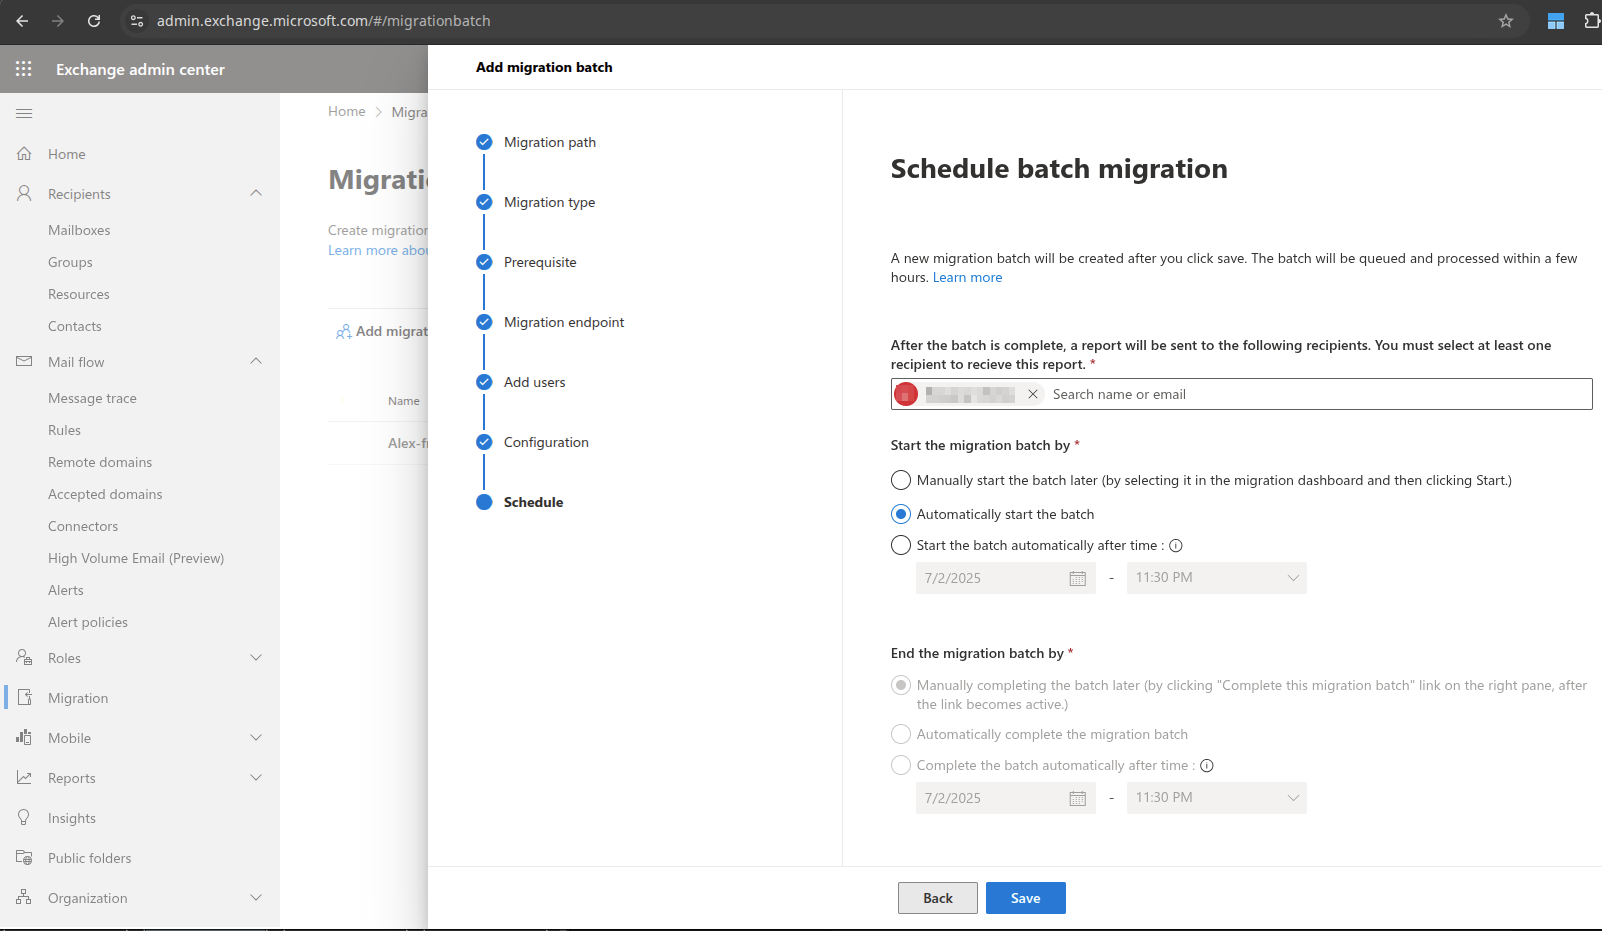
Save
You should see a Status page, and after a few seconds "Batch creation successful!"
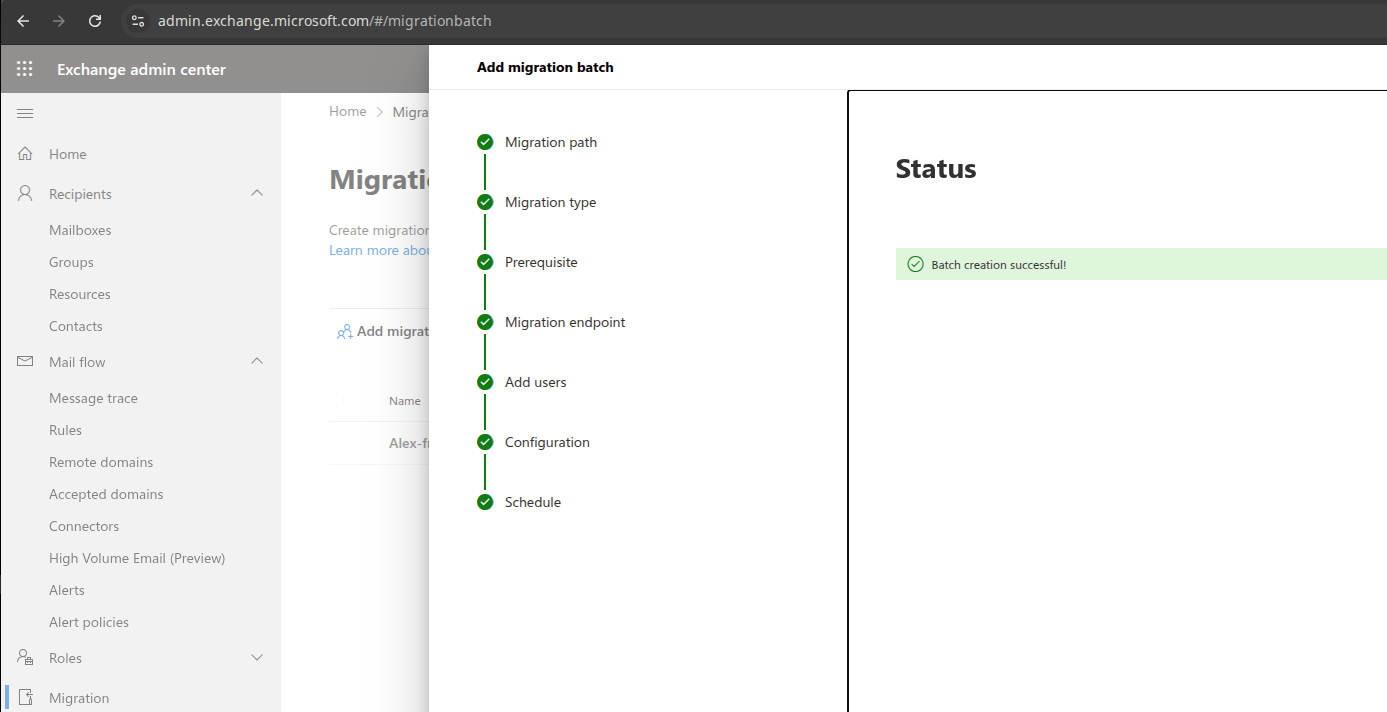
Done
You should be taken back to the "Migration batches" screen.
You should see your batch there with a Status of "Syncing".
If you click on it, you can see more details on the status of the sync.
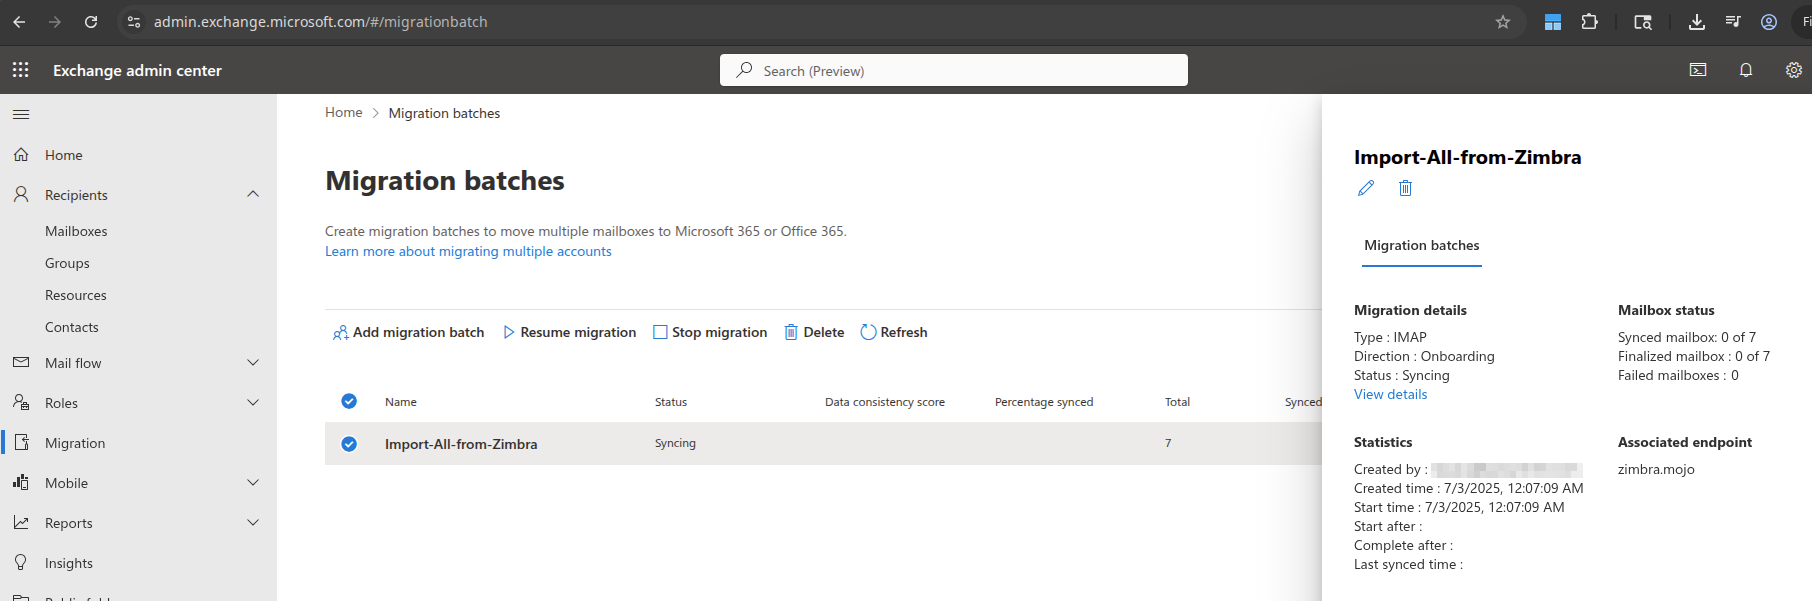
You can check back here periodically to see the status of the migration.
If you need any help with your EMail migration to Office365, please contact our Support Department.
