First off, why would we ask you to change your hosts file?
This is a way to check how your website will function once its IP has changed. Making adjustments to your hosts file will override current DNS records and tell your computer to display your website as it will look like once on another server.
Therefore, you'll be able to test the site without making any irreversible changes and this can potentially rule out an extensive downtime.
If you were asked to test your site by adjusting your hosts file, and you’re on a MAC, you will need to do the following:
Step1: Open the Terminal
Click the magnifying glass icon (spotlight) on the top right of your screen, type “Terminal” and hit enter. Alternatively, go into Applications -> Utilities -> Terminal.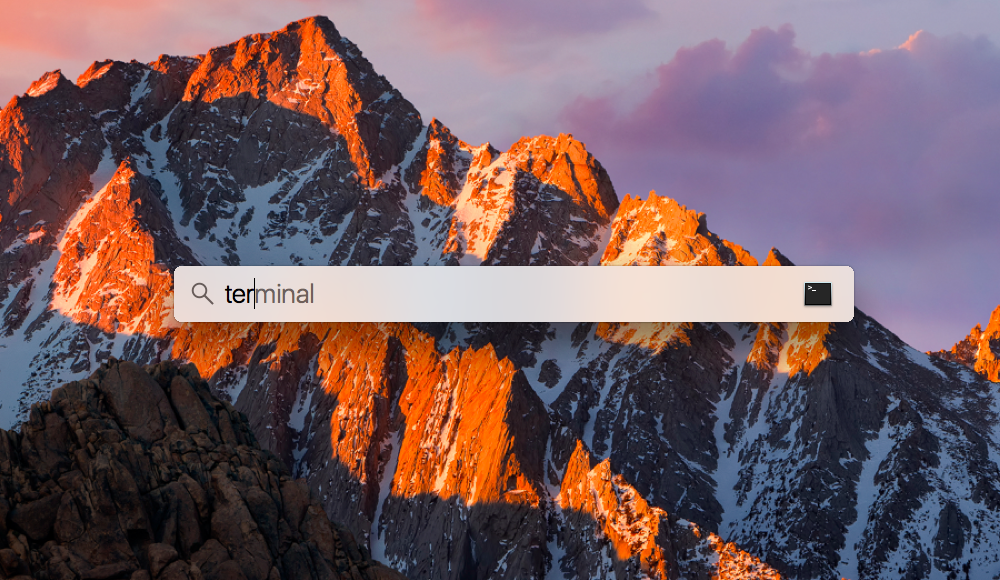
Step 2: Open the hosts file
Open the hosts file by typing on the Terminal that you have just opened:
sudo nano /private/etc/hosts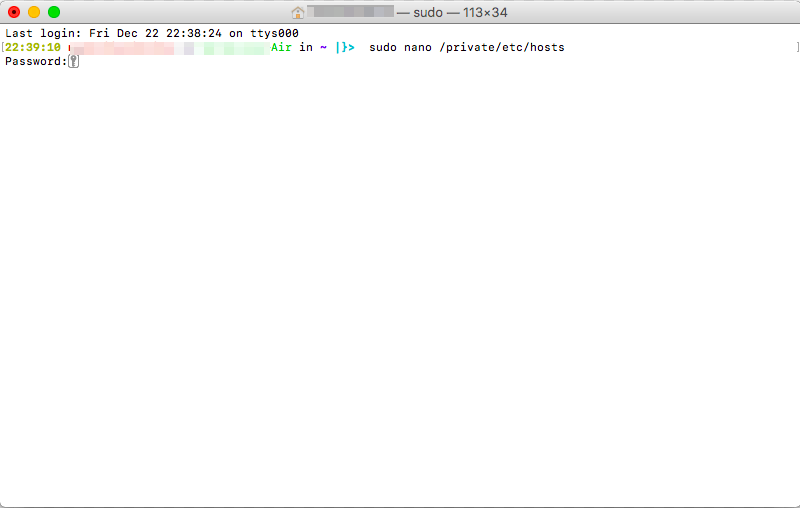
You will be asked for your user password so please type it when prompted and hit enter.
Step 3 – Edit the hosts file
The hosts file contains some comments (lines starting with the # symbol), as well as some default hostname mappings (e.g. 127.0.0.1 – localhost).
Simply append your new mappings underneath the default ones.
You will have to navigate the file using the arrow keys, clicking will not work to place your cursor.
The entries you will need to add would be sent to you by our team of server administrators. For the purpose of this article, I’ll add:
99.99.99.99 mojohost.com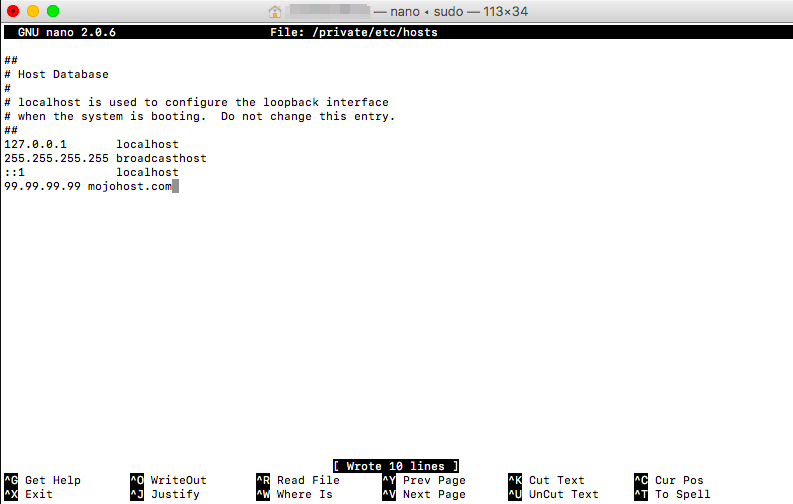
Step 4 – Save the hosts file
When done, I’ll hit control+o to save the changes. Press enter on the filename prompt, and control-x to exit the editor. The changes have been saved and you can now begin testing.
Step 5 – Flush the DNS cache
On your MAC, you can issue a simple Terminal command to flush the DNS cache, and have your host file changes to take immediate effect:
dscacheutil -flushcache
Simply add the above command in your terminal and hit enter.
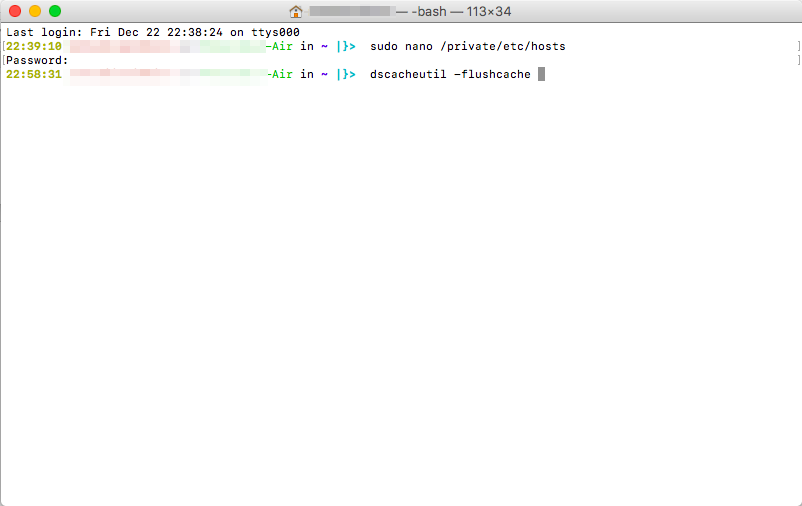
You can now test your new mapping in the browser.
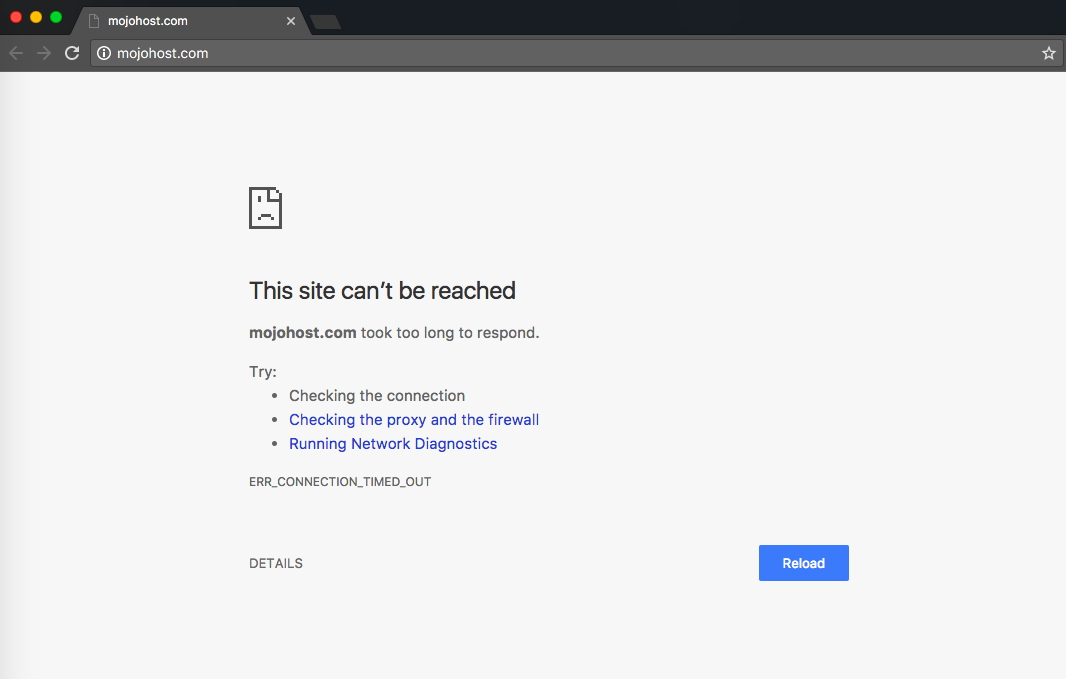
In our case example, our website does not exist on the IP 99.99.99.99, so now when I try to open it, all I will see is:
Upon this small change in your settings, opening your websites will let you see how they look on MojoHost’s servers. Once you give us the OK that your sites are working in their new home base, we will proceed to perform the switch or upgrade. Please keep in mind that some of your most recent updates may not be reflected on the new drives at this testing stage. We will perform a final sync to bring the new disks up to date as the final step in the migration or upgrade process.

